"Beer is proof that God loves us and wants us to be happy."
-Benjamin Franklin
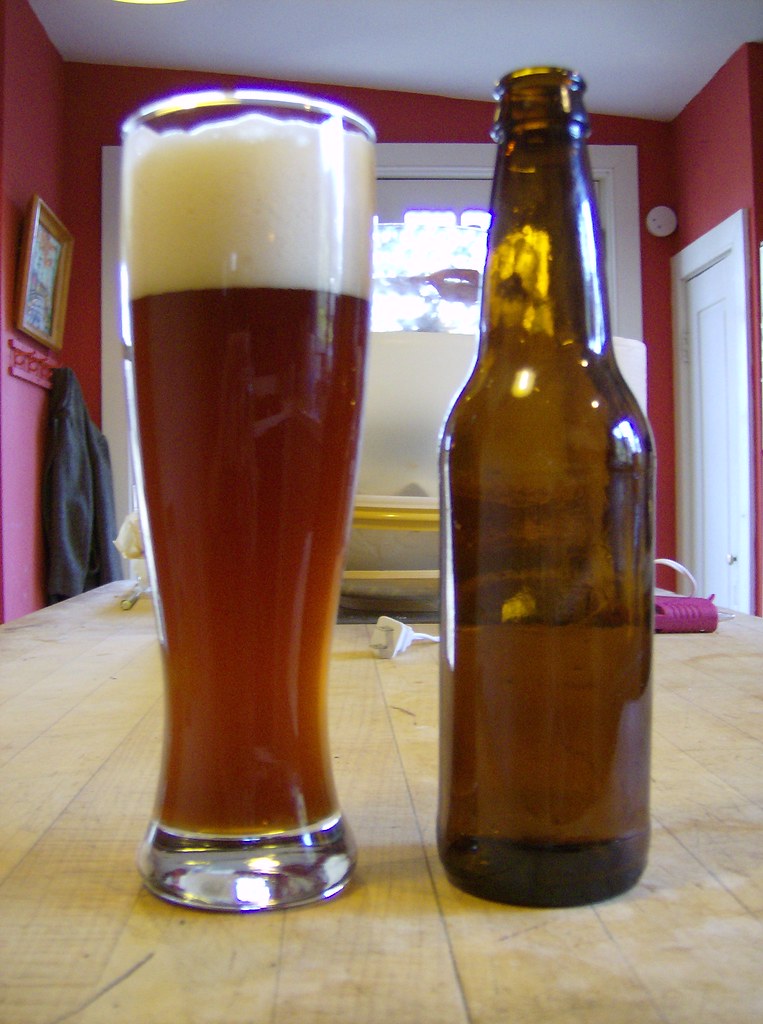
Ah, beer. Is there anything better than sitting down after a hard day of work and enjoying a nice, ice cold beer? However, if you're like me, your tastes are beyond your means. Your heart says Goose Island but your wallet says Pabst Blue Ribbon. How does one satisfy that craving for a quality beer without spending $8 or more on a six pack?
The answer is homebrewing. While startup costs are around $100, you will quickly make up that difference and be producing 5 gallon batches (between 48 and 60 bottles) of beer for as little as $20. On top of that, you'll be learning a craft you can be proud of and that all of your friends will enjoy.
The directions I have here are for the most basic of brews, but they can still produce an amazing batch of beer. Once you have a feel for the basic process, I'd recommend reading up on the craft of brewing and experimenting with recipes of your own.
1) Get the equipment.
Absolute musts are:
-A 4 Gallon stainless steel stock pot
-A long handled stainless steel spoon
-A floating thermometer
-Two large plastic bowls (for sanitizing and rinsing equipment)
-A yard or so of clear, food grade plastic hose
-A primary fermenter w/ airlock (usually a 6.5 gallon food grade plastic bucket)
-A bottling bucket
-Bottles, caps, and a capper
-No-rinse sanitizer
2) Gather your ingredients.
While the basic process of brewing is always the same, the ingredients you use can provide near infinite variations to the color, flavor, and alcohol content of your brew. The three basic ingredients are grains/malts, yeast, and hops. Grains and malts provide much of the beers flavor and color, as well as food for the yeast. The yeast produces the alcohol in the beer, and can also have a large impact on the flavor of the beer. The hops help to balance out the sweetness of the grains and give the beer a fragrance.
Among these three ingredients there is a tremendous variety of choices, and each variation can produce a different beer. Rich, dark malts will produce beers with a higher alcohol content and a sweet, chocolatity taste, while strong hops will make a fragrant, floral brew. What ingredients you choose is entirely up to your personal taste.
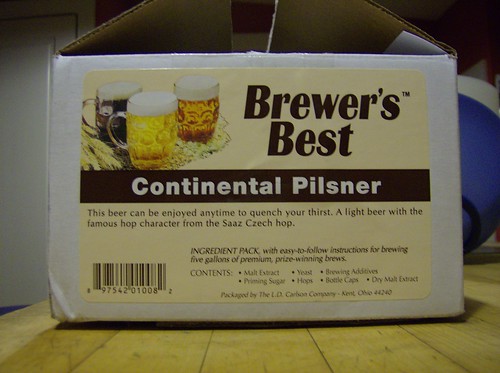
The beer I'll be making today is from the Brewer's Best Continental Pilsener kit. These kits are super cheap ($20-$25), contain excellent ingredients and easy to follow instructions.
3) Clean everything!
I can't say this enough - if your utensils are not clean your beer will not ferment. Yeast are delicate, and can easily be out-competed for food if some unwanted microorganisms make it into your batch.
4) Steep your grains
To begin your brewing process, fill your stock pot with 2 gallons of water and heat on the stove to 160 to 170 degrees. Use your floating thermometer to make sure the temperature of the water is within this range. Take your crushed malt grains, and place them inside the cloth sack to make a sort of giant teabag ball.
5) Add the malt extracts and bittering hops and boil
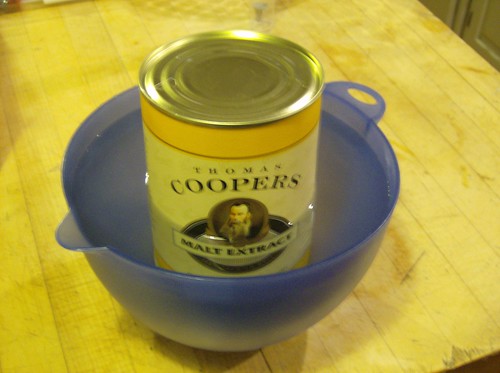
After removing your grain bag from the pot, bring the water to a boil. While you are waiting for this to happen, take the can of malt extract and place it in a deep bowl of hot water. The malt extract is a very thick, syrupy substance, and warming it up a little before you add it to the pot makes it easier to pour.
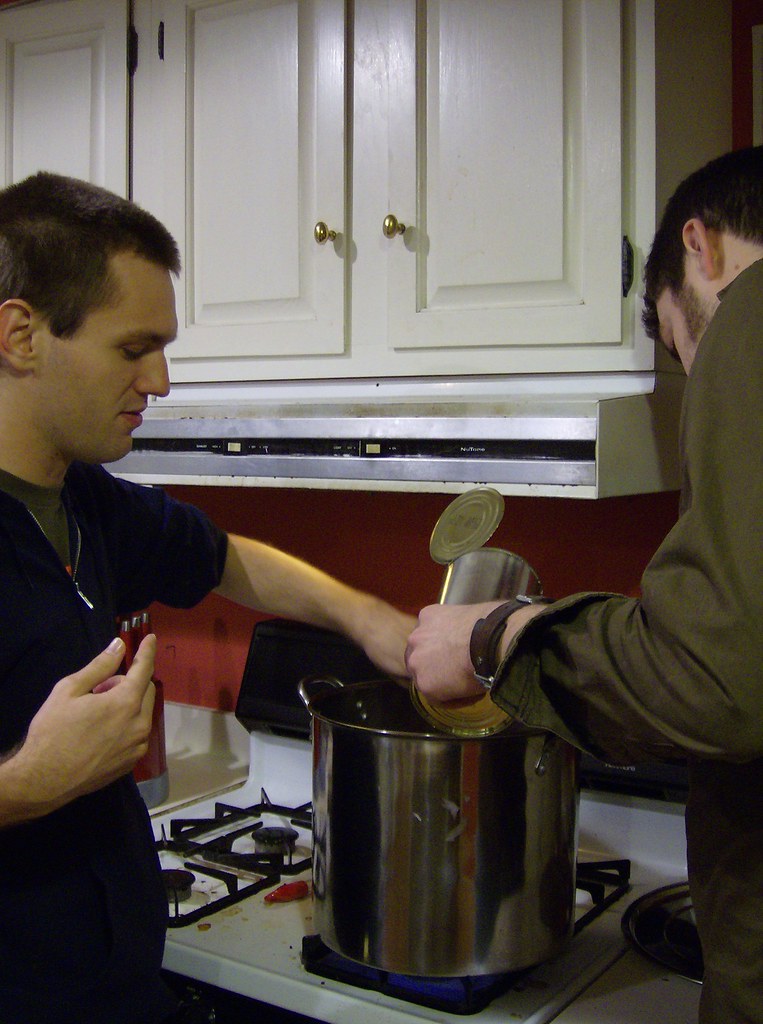
Once the pot has come to a boil, add your malt extract and powder. As you add the malts, make sure to stir the pot vigorously in order to make sure the malts don't collect on the bottom of the pot and burn. It's a good idea to have two people doing this job - one stirring and one pouring.
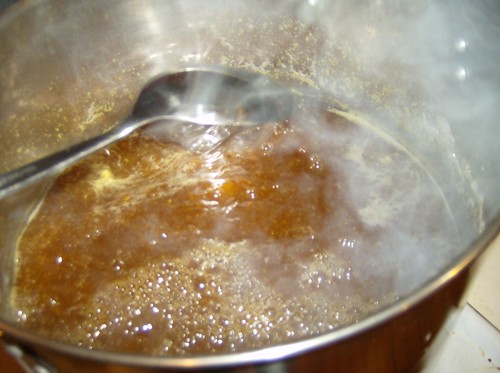
Once you've finished adding your malts, let the pot return to a boil and then add your bittering hops. These guys help to balance out the sweetness of the malts you just added. The mixture you now have is known to brewers as "wort" (pronounced wert). Think of it as hot, flat beer without any alcohol.
Once the hops have been added let your wort boil for 55 minutes, stirring it ocassionally. You'll need to keep an eye on the wort to make sure it doesn't boil over the edge of the pot. Luckily, I've never had this happen before, but apparently it is a horrible mess to clean up when it happens.
6) Add the finishing hops
After the wort has boiled for 55 minutes, add your finishing hops to the wort and boil for an additional 5 minutes. These hops don't add much bitterness to your brew. Instead they supplement the aroma which was boiled away in from bittering hops, giving your beer a faint, flowerly smell.
Once the finishing hops have been added, run a bathtub full of cold water while you are waiting for the boil to finish.
7) Cool the wort to 70 degrees F
Once you have finished boiling the wort, cover the pot and remove it from the stove. Take the covered pot to the bathtub a cold water you ran in step six, and place it in the bath, making sure that it does not tip over. You might want to have some rocks or other heavy objects around to weigh the pot down into the water.
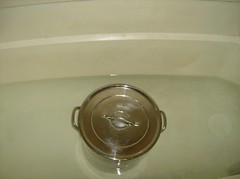
This step helps to make all the hop leaves and gooey proteins (what brewers call "trub") which formed during the boil to settle to the bottom of the pot. By doing this, your beer will be clearer and you will be able to begin fermentation more quickly, reducing the chance of a bacterial infection forming in your brew.
8) Siphon the wort into the primary fermenter
Once the wort has cooled, place the stock pot on a countertop. Throughly clean your siphoning tube and primary fermenter with the no-rinse sanitizer, and siphon the wort into the primary fermenter. Once the flow is started gravity will do the work, but watch the pot to make sure that the siphon isn't picking up any of the trub off the bottom of the pot. Leave about a 1/2 inch of wort in the pot to be sure the trub is left behind.
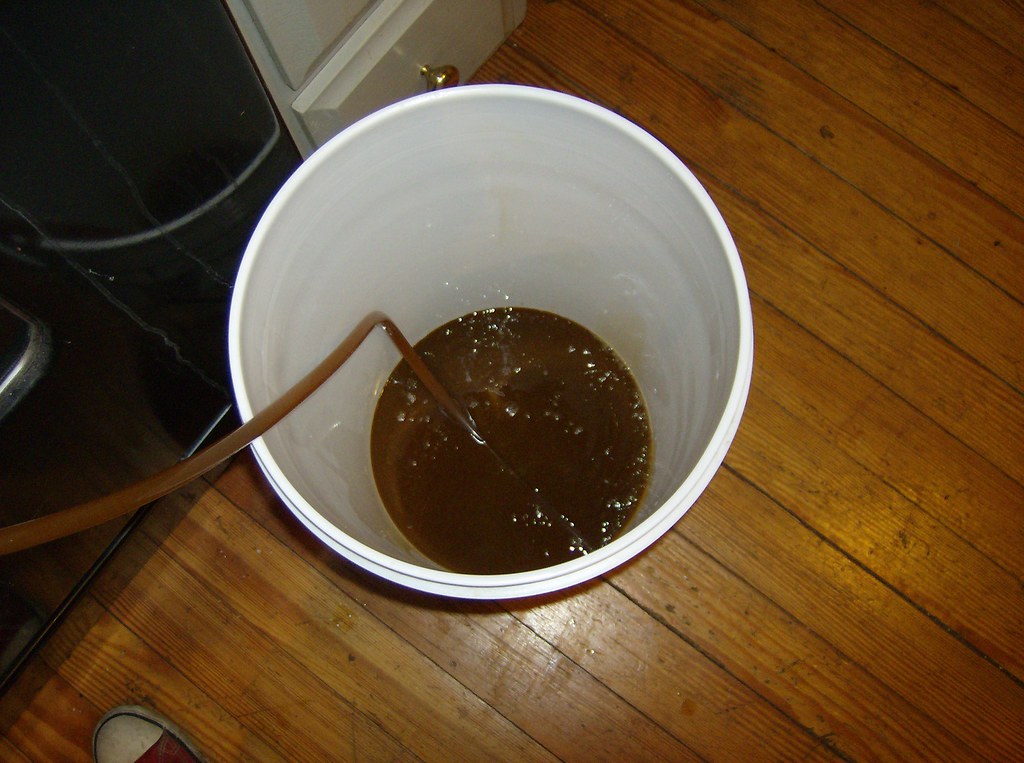
It also might be a good idea to filter the wort through a mesh screen as it is being siphoned into the bucket if you want a really clear beer, but it's not essential to the process. The first time I made a brew a ton of trub got into the fermenter, and the batch still turned out great. Filtering is mostly done for comestic reasons, so do it as you wish.
9) Add water to the wort and measure the initial gravity
Once the wort has been siphoned into the fermenter, add 3 gallons of water in order to fill the fermenter to the 5 gallon mark.
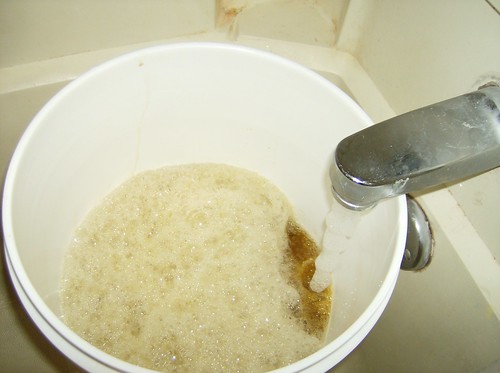
As you can see here, I do this in my bathtub, which I imagine would make a professional brewer have a seizure. However, I've never had any problems with using bathwater - I trust my local water purification plant. Just make sure you completely sanitize everything before you add water to the fermenter, and everything should be fine.
After the water is added and the foam has settled, you should take the Initial Gravity (I.G.) of the wort. The I.G. is basically a measurement of the density of a fluid, and in this case it tells you how much sugar is in your wort and therefore how much alcohol will be in your beer. The I.G. for this beer is 1.033, which means it will have about 3.5% alcohol by volume when it is finished.
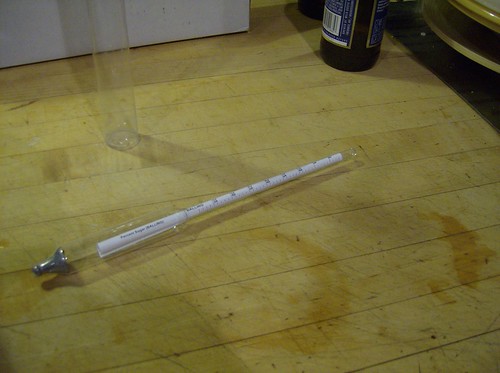
To measure the I.G., one uses the neat little instrument picture above, which is known as a hydrometer. Sanitize it throughly (but be gentle, it's delicate!), place the hydrometer in a sample of your wort (large end down), and spin it to dislodge any air bubbles. The hydrometer should bob up and down for a few seconds and eventually settle at one of the marks on its neck. Look at the mark closest to the surface of the wort and write down that number. That is the I.G.
10) Add the yeast, and seal the fermenter.
After you've taken the I.G., open your yeast packet and sprinkle the yeast over the surface of your wort. Then take a large, sanitized stainless steel spoon and gently mix the yeast into the wort, making sure you never touch the surface of the wort with your skin. Then, sanitize the lid of the fermenter and place it onto the fermenter, making sure to get a tight seal. Sanitize the airlock and pour a small ammount of water into it, and insert the airlock into the hole in the lid of the fermenter. The airlock is designed to vent the CO2 which the yeast produces without allowing air to get inside the fermenter.
This step is probably the most important step in the process, because this is where the stuff that makes beer beer (the yeast) is added, and consequently this is the part where everything can get messed up. BE SURE TO SANITIZE EVERYTHING OR ELSE YOUR BEER WILL NEVER FERMENT.
11) Store the fermenter in a dark place between 60 and 75 degrees. Check it daily.
Once the fermenter is sealed, place it in a dark place at room temperature. Check on it after 24 hours to make sure that the fermentation has started. You can tell if the batch is fermenting if little bubbles of C02 are forming in the airlock. Once the beer beings to ferment it should be ready in about 3 to 7 days. Check it daily and watch the bubbles - if there it takes longer than 30 seconds between bubbles, the fermentation is finished and your beer is ready to be bottled.
No comments:
Post a Comment